Zoom Instructions
You can download a copy of the instructions here:
Or follow along below:
Step 1: Click on the zoom meeting link
Below is an example of what you will see in your email invite:
LAMP is inviting you to a scheduled Zoom meeting.
Topic: Zoom Meeting
Time: Aug 7, 2020 11:00 AM Central Time (US and Canada)
Join Zoom Meeting(for example, the link in your email will look similar to this one (this is not a real link)):
https://umn-private.zoom.us/j/96177411522?pwd=anFLMXl1Q1JIS3BxY3ZDQWNMcFMrUT09
- Follow prompts to open meeting link: Click “Join with Computer Audio”

Note: If this is your first time using Zoom, please download the Zoom software. If you already have Zoom installed, skip to Step 4. you may be asked to download Zoom software. Please follow prompts to download the Zoom software. (This should only take 2-3 minutes maximum). Zoom also occasionally updates their software, so it may ask you to update the software before a meeting. Please update the software when prompted (this usually only takes about a minute to complete).
- To download the Zoom software, click “Download now”
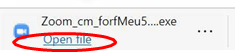
- Then a file will pop up somewhere on your computer screen (for PCs, it is often at the bottom left of the screen). Click “Open File.”
- Your computer will now install the Zoom software.


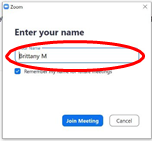
- Enter your name. You will be prompted to type in your name. Preferably first and last, or first name with last initial (ex. Mariah B). The name you type here is what others will see on your screen.
- You can update your name at any time by hovering over your picture on the screen, clicking on the three white dots, and clicking “rename.”
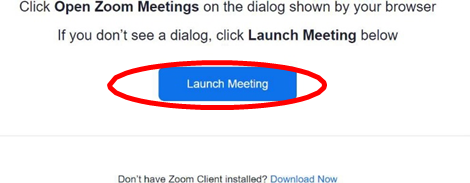
- Click “Launch Meeting.”
Note: you may see a screen saying “Waiting for the host to start this meeting,” or, "The host will let you in shortly." No action is needed from you. The LAMP team will allow you into the meeting.

Step 2: Adjust your meeting controls
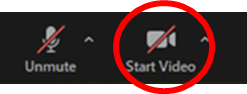
- Below is the bar you will see at the bottom of your screen. These are your meeting controls.
- To mute/unmute yourself click the speaker icon on the far-left side. Here is a helpful video on how to mute/unmute yourself:
https://www.youtube.com/watch?v=-nYIaBQpi60
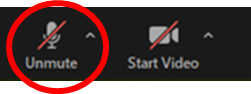
- Click on the little caret / "up arrow" (^) by mute/unmute mic icon for more audio settings and options. If you need to change the microphone or speaker settings, you can do that here.
- To turn your video on or off click the video camera icon on the far-left side.
Note: Turning your video OFF can sometimes help fix internet connection issues due to reduced bandwidth.
Here is a helpful video on how to start/stop your video camera
https://www.youtube.com/watch?v=qsGiNKAlDJM
- Click on the little caret / "up arrow" (^) by the start/stop video icon for more video settings and options. If you need to change the camera settings, you can do that here.
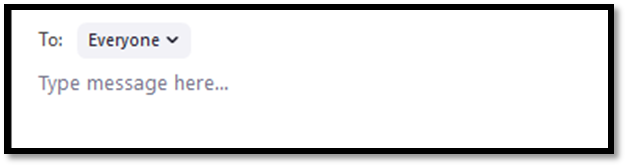
- To chat with the group, or with a specific participant in the group (ex. The group facilitator/leader), click on the “chat” button in the center with the chat bubble.

Step 3: Adjust your visual settings
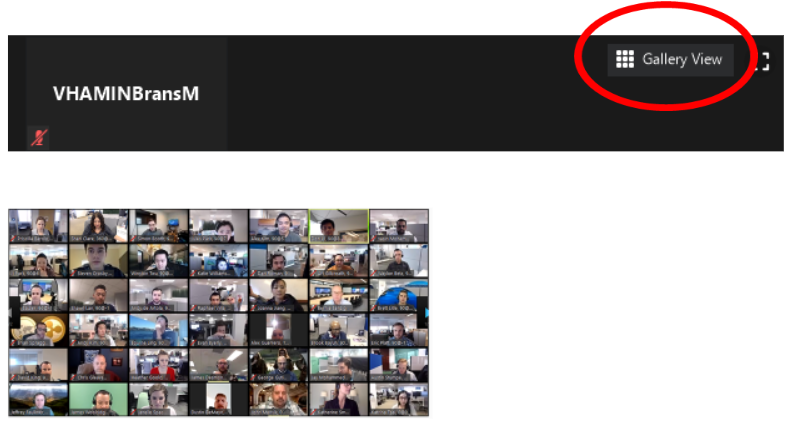
There are three different viewing options to choose from: Gallery view, active speaker view, and floating thumbnail view.
- Please select “Gallery View” on the top RIGHT of your screen during the discussion portion of the meetings so you can see everyone.
- During the presentation portion of the meetings you can choose which view you like best. Here are the other options:
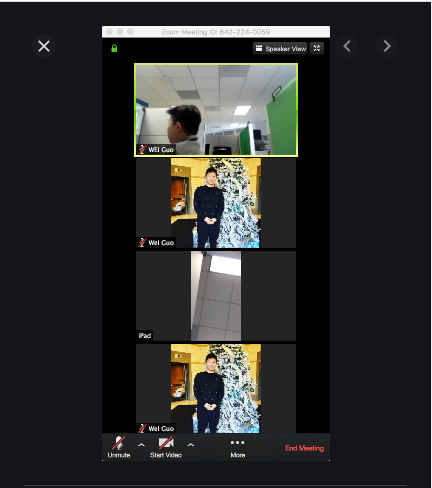
Active Speaker View:
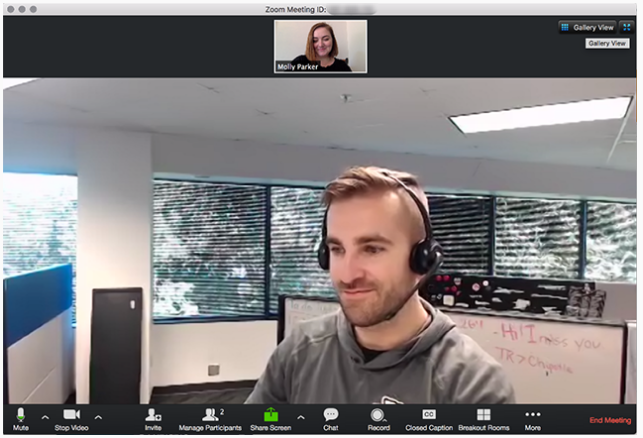
Thumbnail View:
Here is a helpful link for how to adjust visual settings:
Step 4: To leave the meeting
- To leave the meeting you will use the RED “leave” button on the far-right side.
**Note: The “share screen,” and “record” buttons can only be used by the host, or the host can give rights for other users to use these buttons during the meeting. The meetings WILL NOT be recorded.